This post contains affiliate links which means that if you click and make a purchase I may receive a small commission, at no cost to you. All opinions are my own.
As a travel blogger, many visit my corner of the web for tips on family travel. But when I’m not on the road, I enjoy crafting. I’ve always loved unique, handcrafted greeting cards and invitations. I’m not a naturally gifted artist and full disclosure… I can’t cut a straight line to save my life. But Cricut products helped me to create high-quality, custom invites and party decorations. Once I learned my way around the cutting system, I discovered that Cricut can do so much more than that.
Contents
What is Circuit?
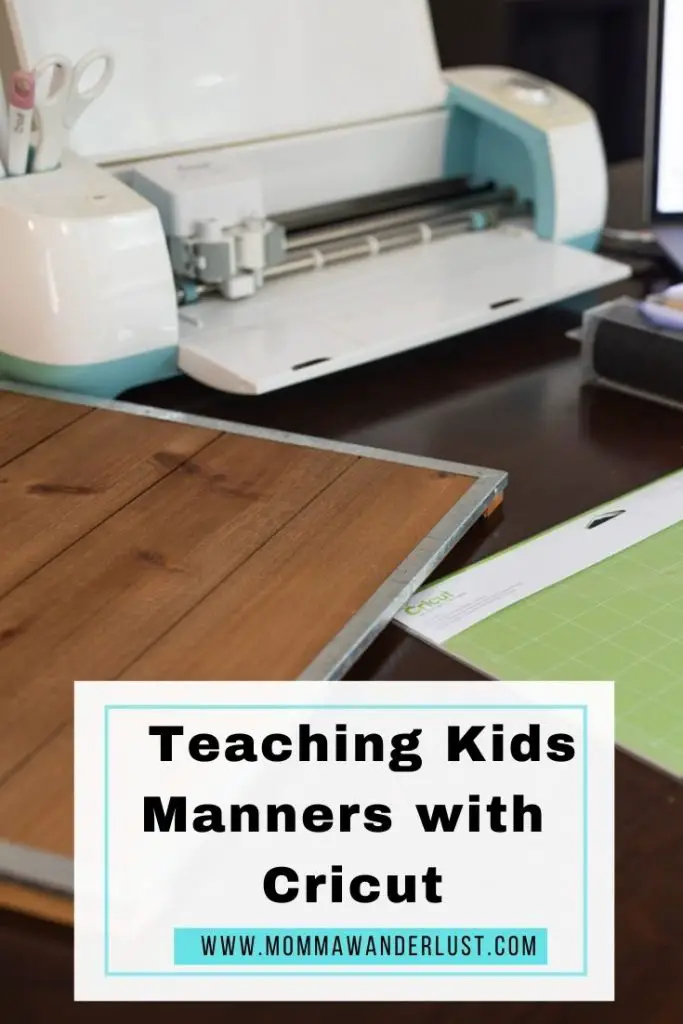
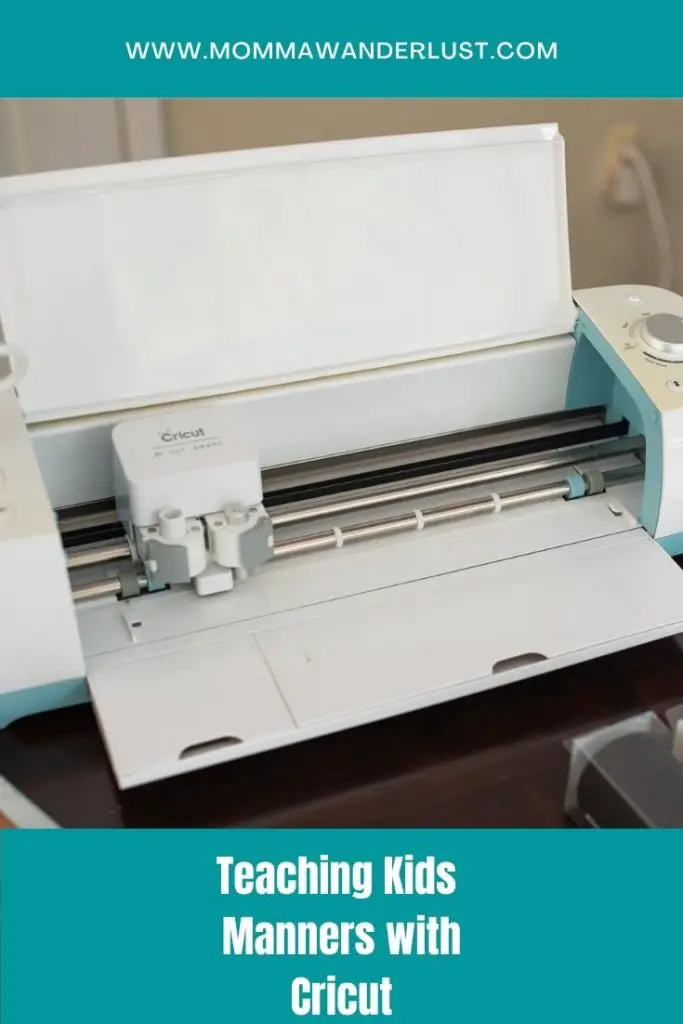
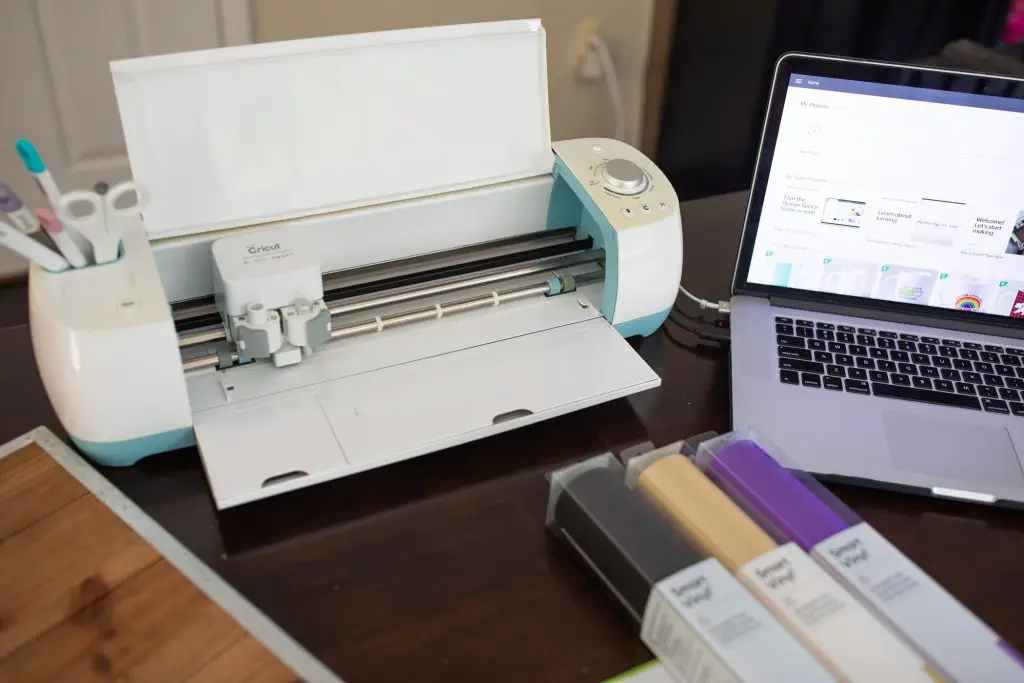
In case you aren’t familiar, Cricut is a computer-controlled cutting machine. There are a few models of machines for every type of crafter: the Maker 3, Joy, and Explore. Deciding which machine is best, depends on the type of projects you’d like to create. The machines not only cut through card stock, fabric, and vinyl, but the Cricut Maker can cut through thin wood and more.
This is why I turned to Cricut to create a unique way to teach my kids manners. As a traveling family, we work to incorporate life lessons through a global lens. We stress the importance of being polite at home and on the road. When thinking about teaching kids manners, I thought it would be fun to use my Cricut to create a cool sign with keywords and phrases to hang up at home.
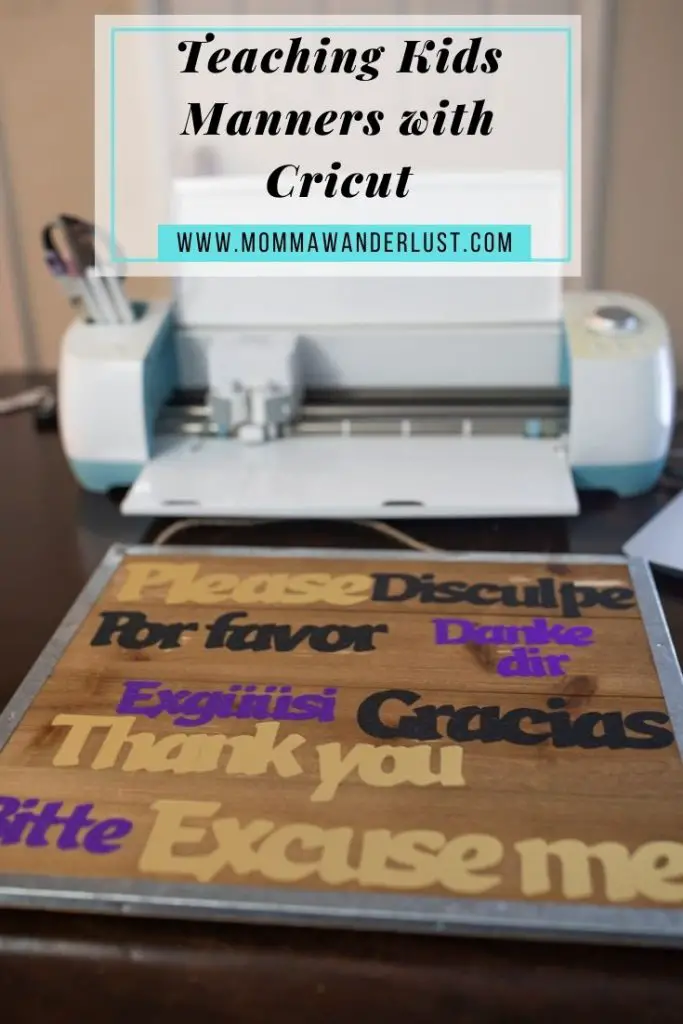
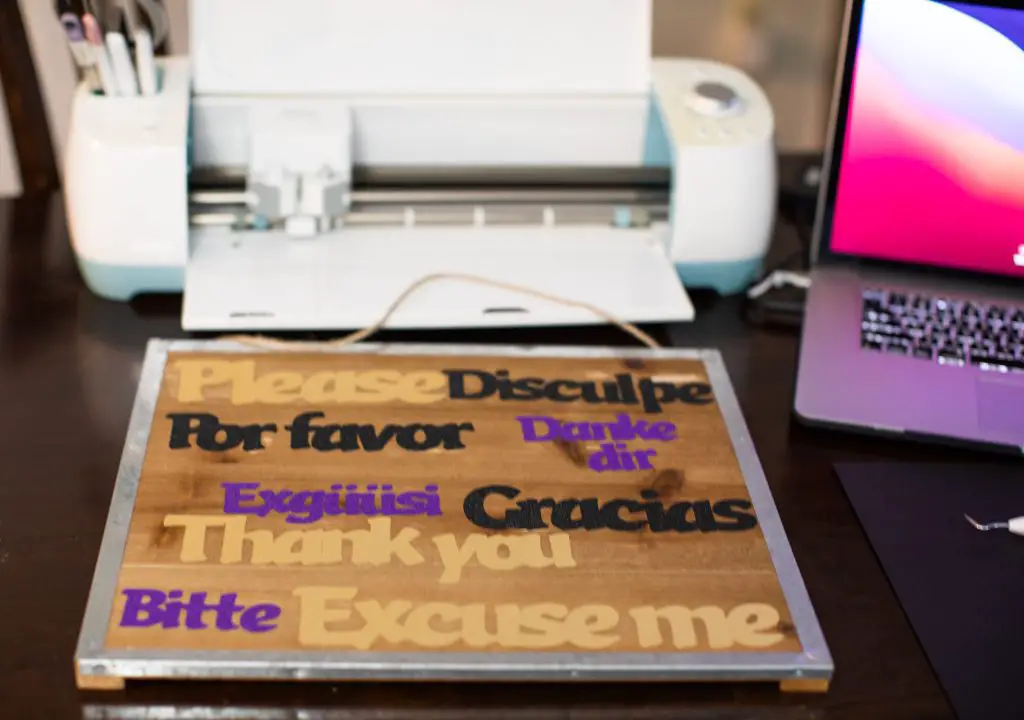
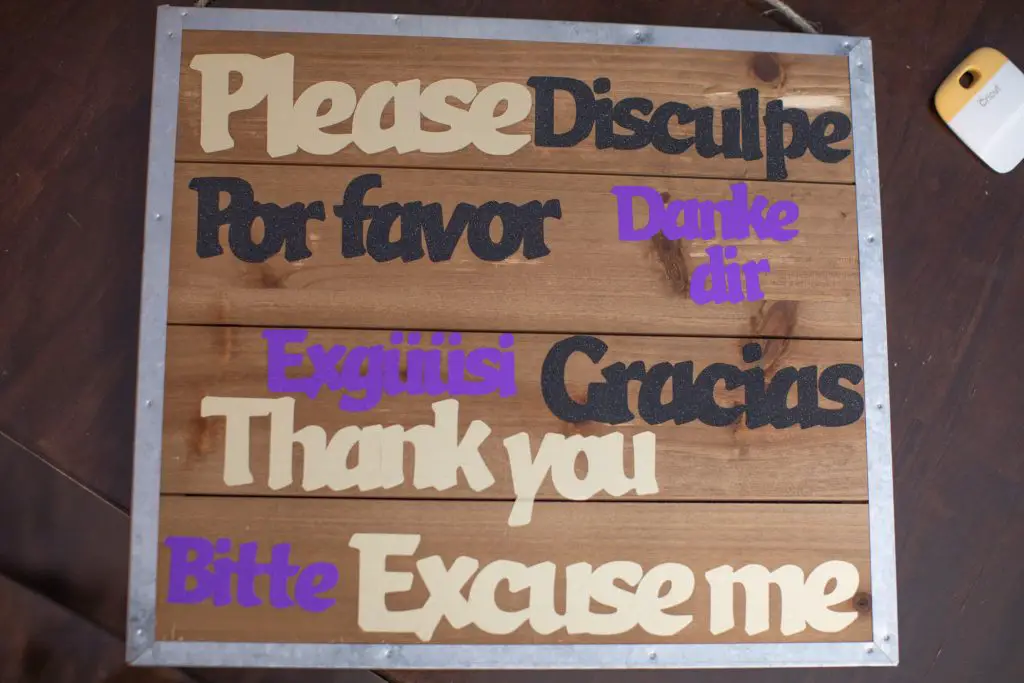
We speak English in our home, but we’re learning Spanish as a second language. To be polite, we work to learn a few words and phrases in our host country’s language before visiting any non-English speaking country. When we were planning for our family trip to Switzerland. I created a wall sign that says, “Please”, “Thank you,” and “Excuse Me” in English, Spanish and Swiss German. I used my Cricut to cut the words out of vinyl, and then I adhered them to a premade wooden sign that I purchased at a craft store.
The sign was easy to create and turned out really nice. Here’s how to use Cricut to create your own:
Materials Needed:
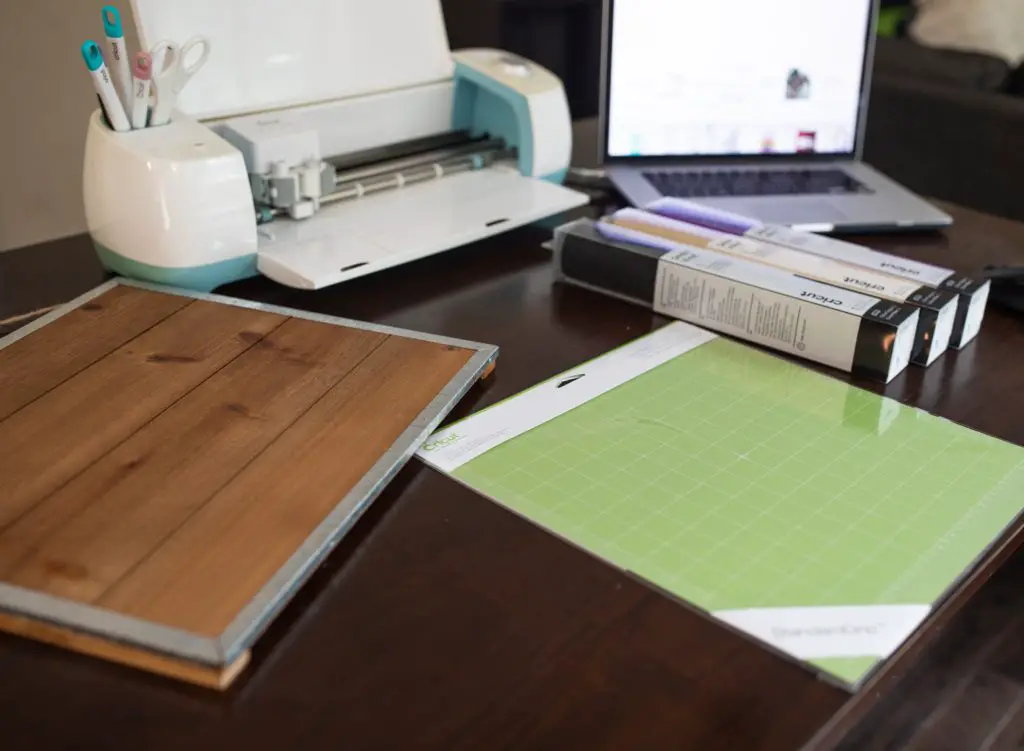
- Wooden board or sign (you can purchase one from a craft store)
- Cricut Machine
- Cricut Permanent Vinyl (We opted to use three different colors. One for each language.)
- Cutting Mat

Teaching Kids with Cricut, Step One: Choose Your Design
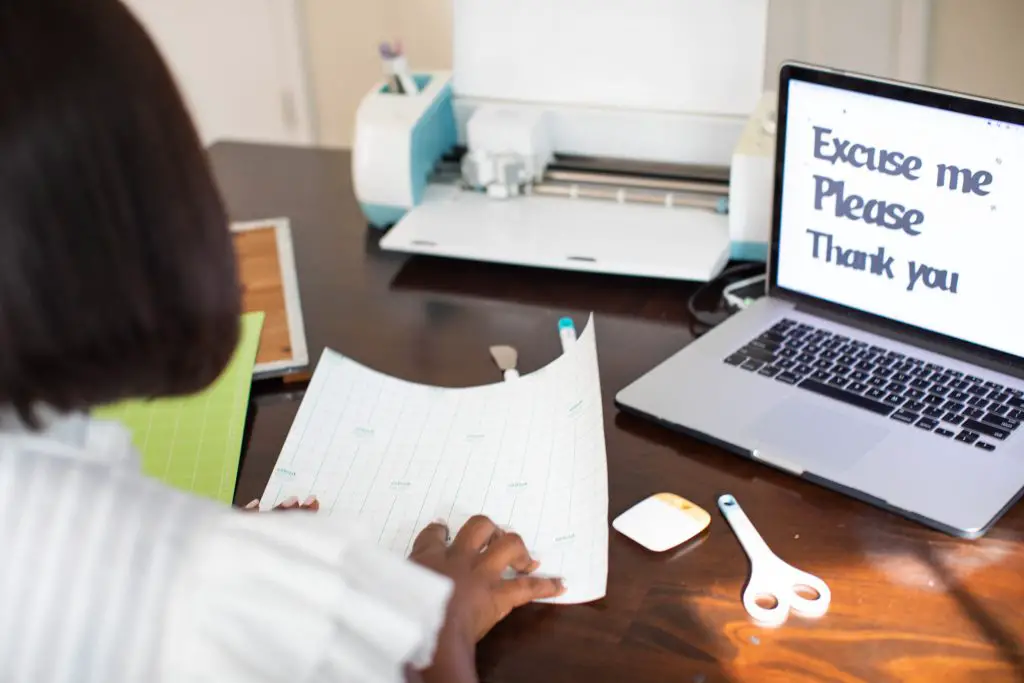
First, you will need to decide which keywords you would like to include on your sign. I incorporated my two children by asking them, which words they felt were the most important when being polite. They came up with the terms, “Please”, “Thank you,” and “Excuse Me,” which were ultimately used in the creation of our new sign.
Teaching Kids with Cricut, Step Two: Make Your Design
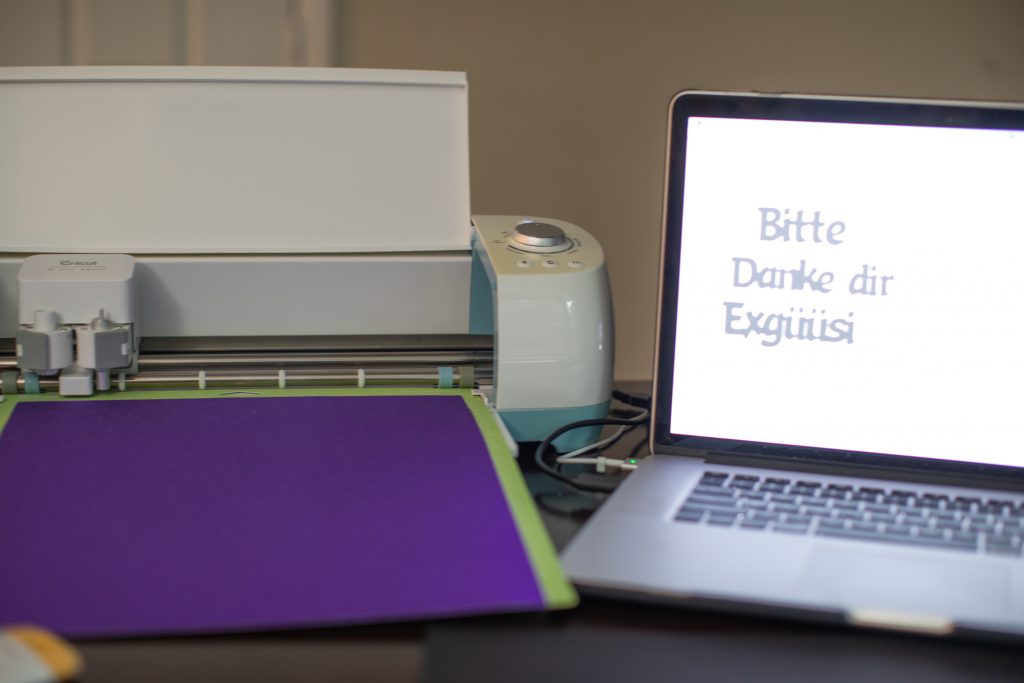
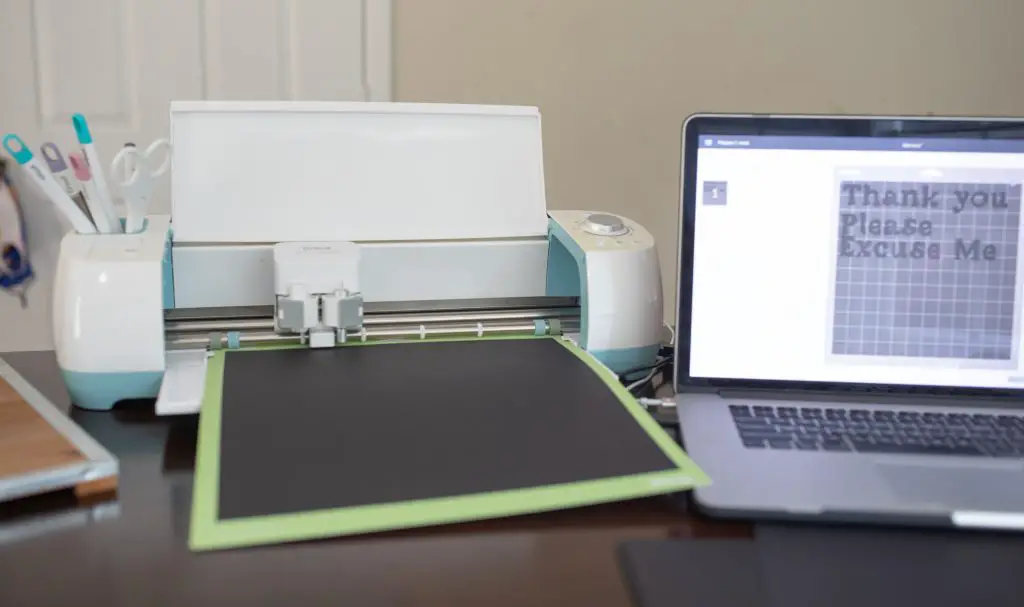
To start the making process, I opened Cricut Design Space. Select “New Project” and“Text” function on the left-hand side of the screen. Choose the font you’d like to use. Type in the words you want to cut.
If you would like Cricut to cut the word instead of individual letters, you will have to select the spacing option in the top toolbar. Click the down arrow to reduce the amount of space between each letter until they are touching. If that doesn’t work, consider changing your font. If you prefer to keep the font you selected, you can select “ungroup” in the box that appears on the right-hand side of the screen. This will separate each letter, so you can move them closer together until each letter is touching. Once all the letters in the word are touching. Highlight each letter by using your mouse to select each letter while you hold down the shift key. Go back to the menu on the right-hand side and select “group” to place all the individual letters back into one word. Choose “Weld” at the bottom of that menu.
Teaching Kids with Cricut, Step Three: Cut Your Design
Once you’ve chosen your design, it’s time to start cutting with your Cricut. Before you start cutting, be sure to adjust the size of your design, so it will fit on your sign or canvas the way you want. Once your design is right, click Make it.
Teaching Kids with Cricut, Step Four: Vinyl Application

Once the cutting is complete, weed your design. Weeding vinyl was simple. You pull the excess vinyl off the words you cut. The only issue I ran into was with the black vinyl. It was difficult to see the cut on black, which resulted in me wasting a lot of unused vinyl. I hated throwing away all that good vinyl, but I was happy that my cut was perfect.
Secure the transfer sheet onto the cut-out vinyl. You can find it in the middle of each roll of vinyl material. Pull the paper off the back of the Transfer sheet and adhere the sticky part to the front of the vinyl. Remove the paper on the back of the vinyl sheet. The only thing that will remain is the vinyl word that is stuck to the clear transfer sheet. Place the transfer sheet exactly where you want the word to go. Slowly remove the clear transfer sheet. The vinyl word should remain adhered to the wooden sign.
Repeat steps two and three until you have the desired number of vinyl words are affixed to your sign.
I’m really pleased with how my sign came out. Please share photos of what you create below.
This is a sponsored conversation written by me on behalf of Cricut. All opinions are my own.
Pin for later: