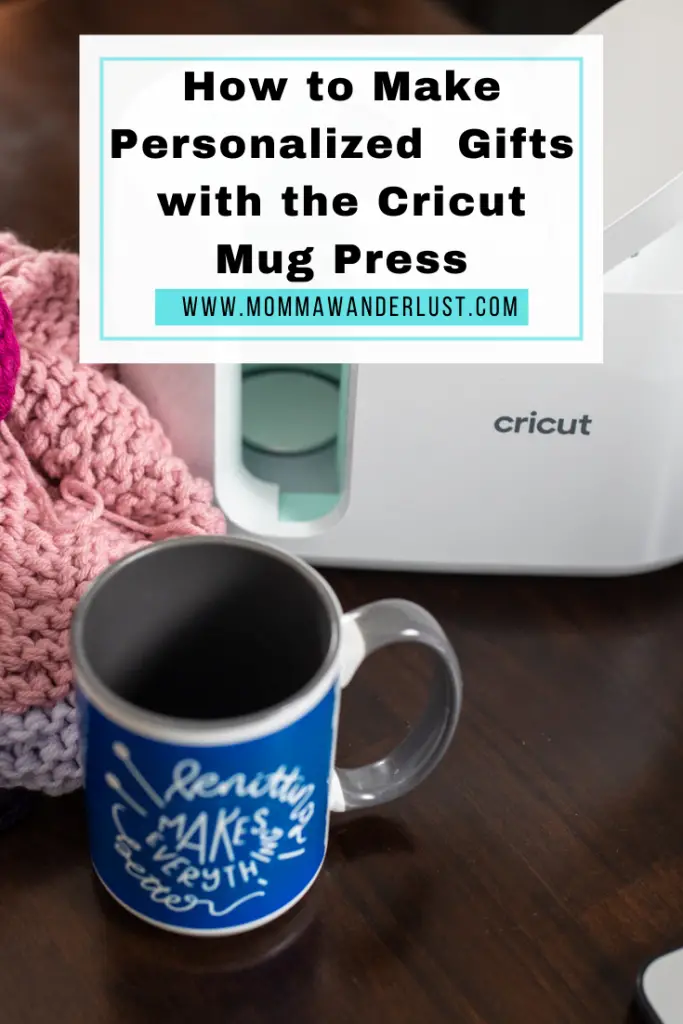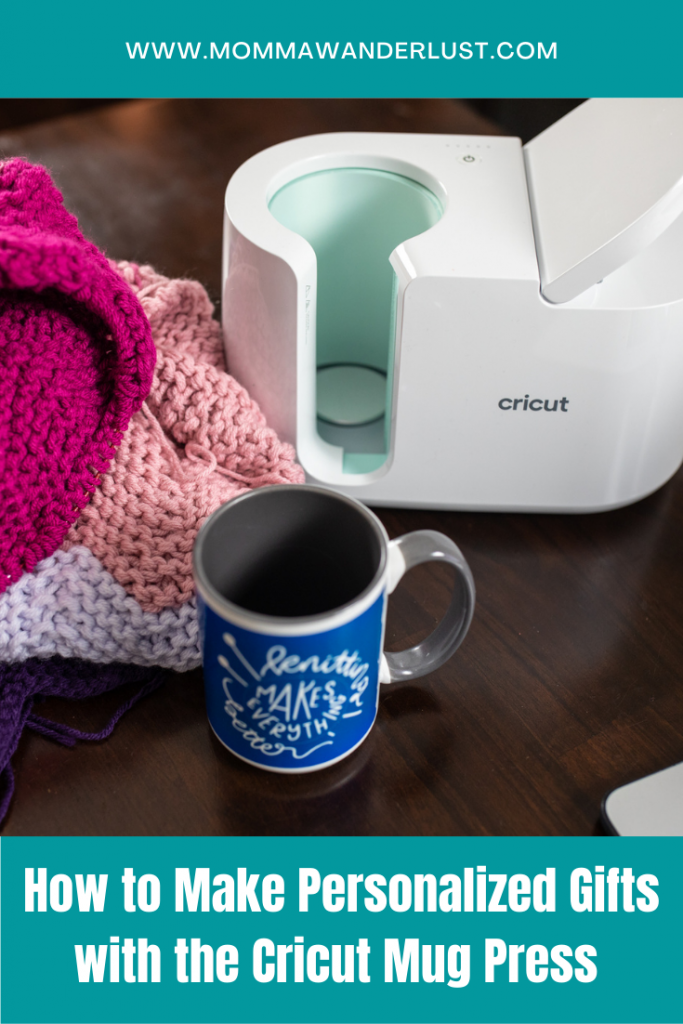
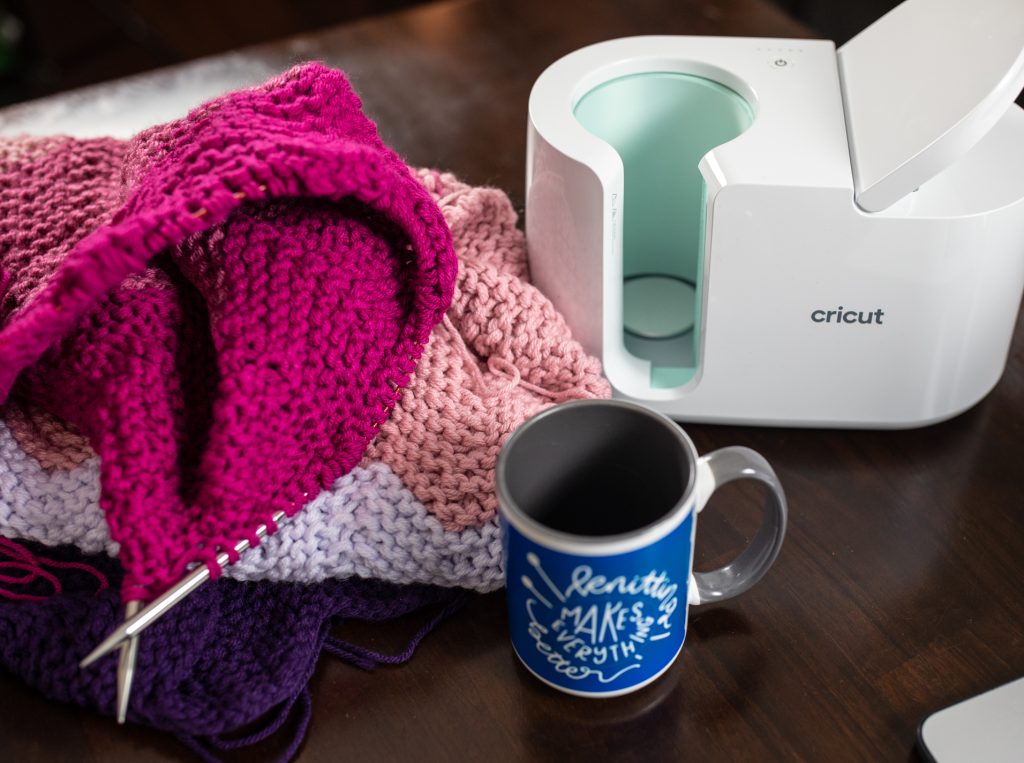
Give the perfect customized gift using the Circut Mug Press. The Cricut Mug Press allows crafters to create professional mugs quickly. This machine uses infusible ink instead of vinyl, which creates bright, colorful designs that are dishwasher-safe and will last.
I made this uber cute, professional-grade mug in a matter of minutes, and I couldn’t be prouder. In this post, I will show how easy it is to make a personalized mug using Cricut’s Infusible Ink Transfer Sheets. These infusible ink sheets come in a variety of sizes, so they can be used in any of the Cricut cutting machines.
Contents
Make Custom Cricut Mug Press Supplies Needed:
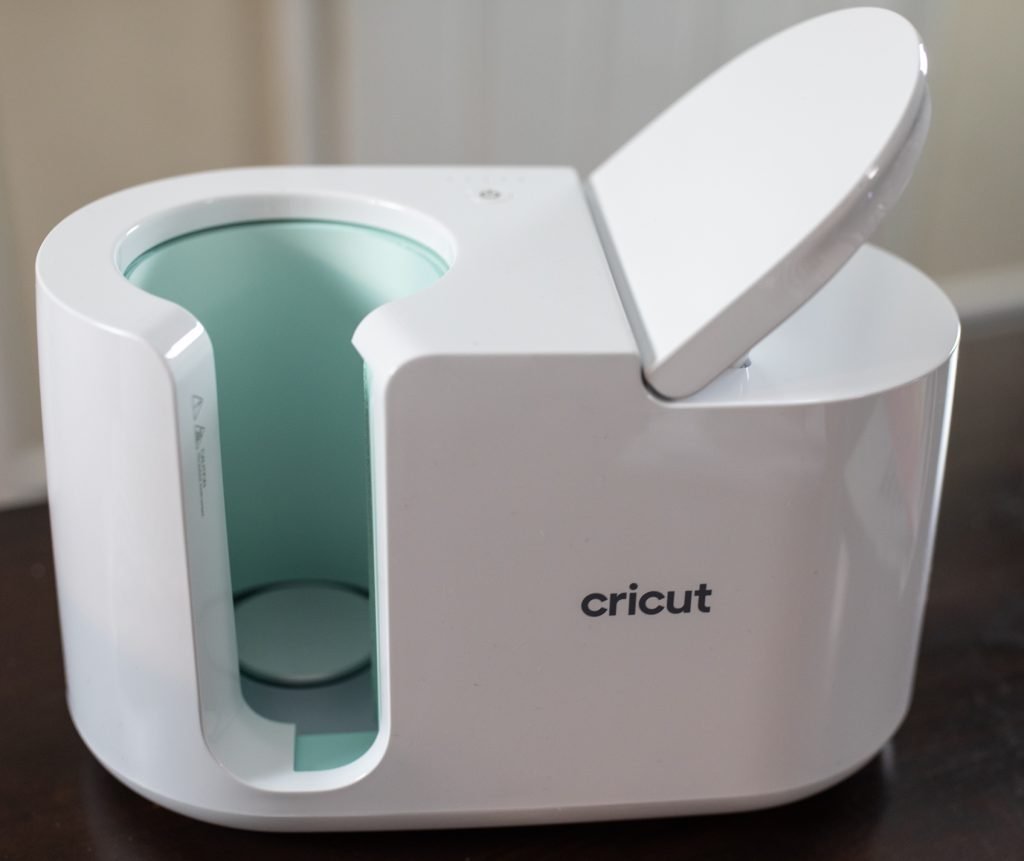
- Cricut Mug Press
- Any Cricut Machine: Cricut Maker 3, Cricut Explore 3, Cricut Joy, or Cricut Mug Press
- Cutting Mats
- Infusible Ink Transfer Sheets
- Cricut Infusible Ink Pens
- Lint Roller
- Heat-Resistant Tape
- Mug Design File in Cricut Design Space
How to Create a Customized Mug with the Cricut Mug Press:
Step 1: Design Your Mug in Cricut’s Design Space
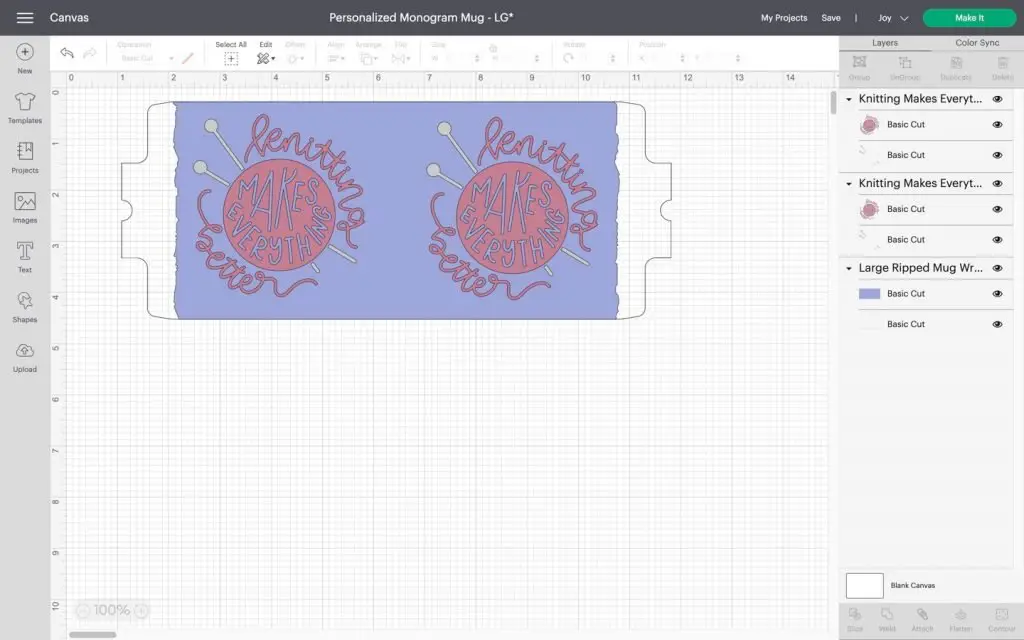
Conduct a search for mug design or slogans you might like in Cricut Design Space. I knew that I wanted to create a mug about knitting my other crafting passion. So, I did a quick search for phrases that included the word “knitting” and found this one that says, “Knitting Makes Everything Better” and knew that was the one I wanted to make.
Step 2: Turn Your Mug Press On
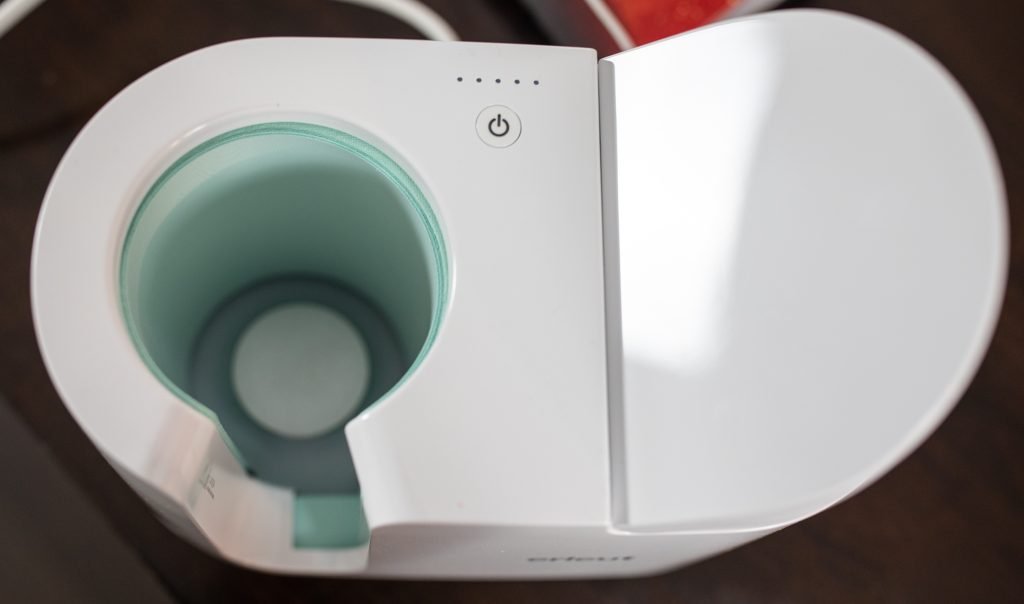
Hit the “on” button on your Mug Press so that it can preheat as you finalize your design. On the first use, you will have to connect the Mug Press to your computer using the USB cord to ensure the machine is up-to-date.
Step 3: Cut your Design on Your Infusible Ink Transfer Sheet

Find a slogan or design you wish to make in Cricut Design Space, select the Cricut Cutting Machine you decided to use. I chose to use my Cricut Joy for this small project.
Step 4: Weed Your Design
Now it’s time to weed the Infusible Ink. While weeding is my least favorite part of the making process, weeding the Infusible Ink Transfer Sheets wasn’t bad. I bent the transfer sheet back and forth a few times, and then I used my fingers instead of the weeding tool, and the letters popped out easily.
Step 5: Secure the Infusible Ink Transfer Sheet to the Mug
After your design is weeded, use the lint roller on the mug to ensure there isn’t any lint or pet fur on the mug. Then stick the transfer sheet to the mug. You might have to use heat-resistant tape to ensure that all sides are secure.
Step 6: Put Your Mug in the Mug Press and Push the Lever Down
There isn’t a temperature gauge, heat dial, or setting on the Cricut Mug Press machine. Your Mug Press will beep once the pre-heating process is complete. Place your mug into the slot. Push the lever down to start the heat transfer process. There’s a series of five lights above the power button that serves as an indicator of your project’s process.
Step 7: Remove Your Awesome Personalized Mug
An audible beep will sound when the transfer is complete. Pull the lever up and remove the mug. The handle will be warm to the touch while the mug is very hot. Allow the mug to cool on a heat-safe surface for about 15 minutes.
Step 8: Marvel at Your Cool Design
Remove the transfer tape and reveal your uber awesome mug design!!
Overall, this customized mug was easy to design. I’m pretty stoked by the end result. The only issue I ran into was after I decided to duplicate my image so that it would appear on both sides of the mug. Once I did that, I had to figure out how to merge the duplicated images and slice them so that the negative space would be visible on the mug.
[This post on Making Customized Gifts Using the Cricut Mug Press is a sponsored conversation written by me on behalf of Cricut. All opinions are my own.]
If you found this post on the Best Personalized Gifts with the Cricut Mug Press helpful, you might also like:
- Cricut Gift Guide for Beginner Crafters
- Mindfulness Activities for Children with Cricut
- Creating a Car Survival Kit with Cricut
Pin for later: